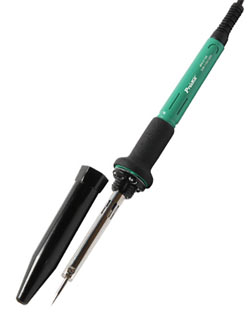
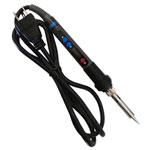
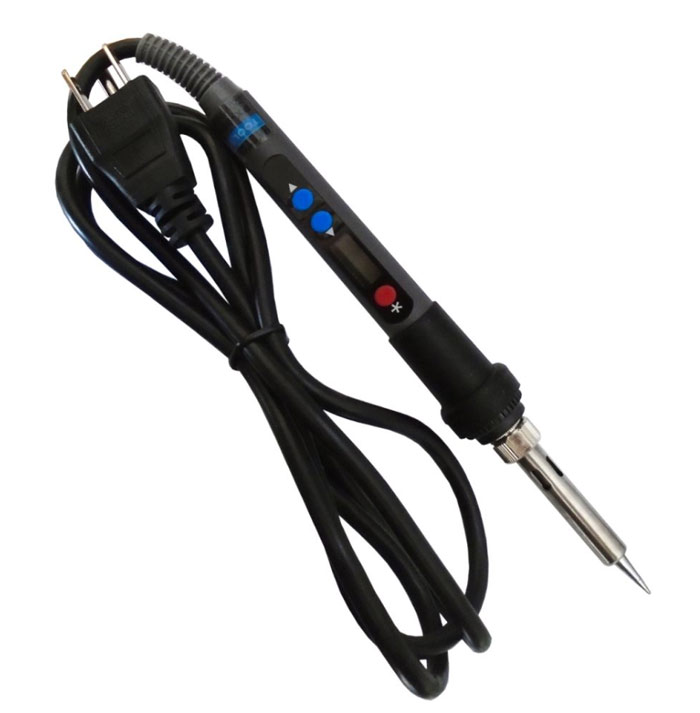
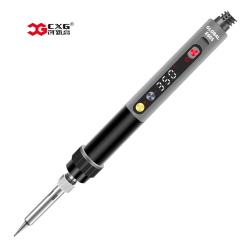
Features:
-
power consumption: 90W (maximum peak 145W)
-
temperature adjustment range: 100 - 480°C
-
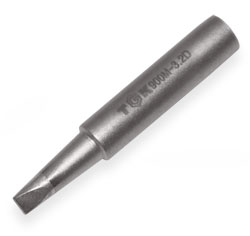
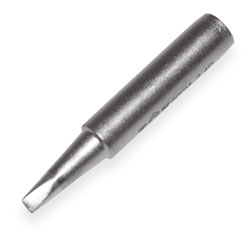
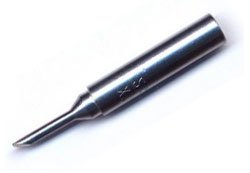
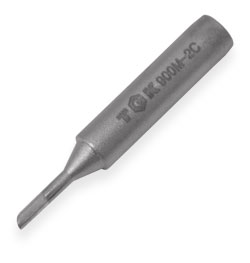
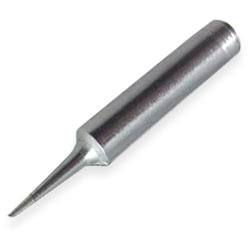
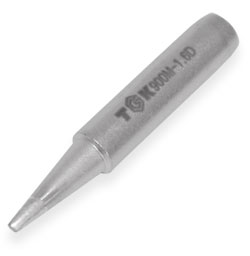
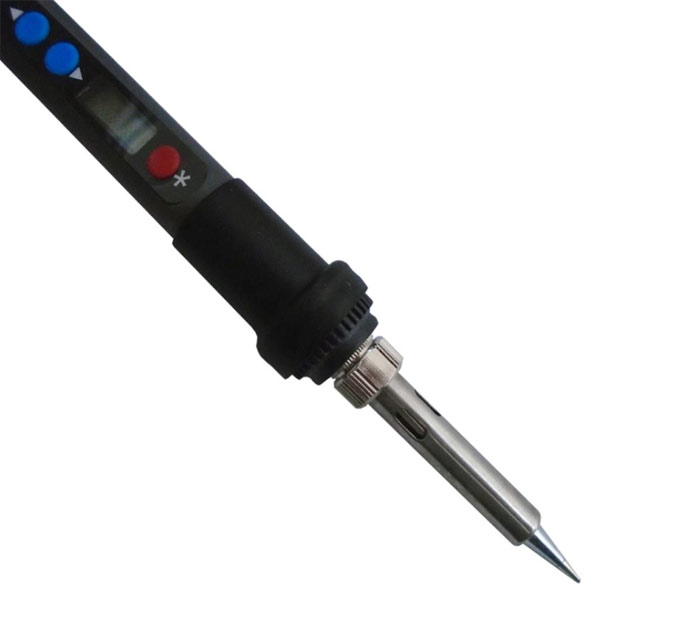
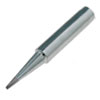
tips (stings): 900M series
-
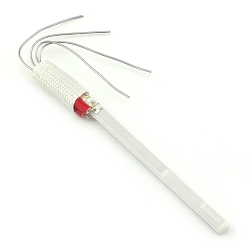
heating element: ceramic
Working and setting up the soldering iron:
Plug the power plug into a power outlet. Press the [*] button and the power will be turned on.
- The default temperature is 350 ºC.
Setting the required temperature:
Press the up or down button to set the desired temperature. The LCD will display the preset temperature blinking. The temperature will rise or fall by 1ºC when you press once. After 3 seconds, the soldering iron will return to work and display the new temperature you set. The value you set will be saved and will not be affected by turning the power on or off.
- Temperature Calibration:
If the real temperature and the temperature on the display are very different, then you need to calibrate the soldering iron. When the power is on and the temperature is constant, check the real temperature on the thermometer (we recommend the soldering iron thermometer), then press the * button once to go to the calibration, then enter the deviation value with the "up" or "down" key, after 3 seconds the soldering iron will return again and the temperature calibration is complete. For example:
the display temperature is 350ºC, but the real temperature should be 380°C, then press the * key to go to calibration, and press the down key to set the value to 30ºC, after 3 seconds the soldering iron will return to work.
- Shutdown:
hold down the [*] key for 3 seconds, the soldering iron will turn off automatically.
Completeness :
-
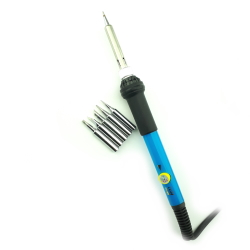
soldering iron with installed tip 1 pc
The warranty period is 3 months.
The warranty does not cover heating elements and soldering tips, which are consumables.


 The data presented in the product description are for reference only and may differ from those indicated by the manufacturer.